
Ring-making workshop in Eunpyeong, Seoul: matte clover ring at Munak
In short
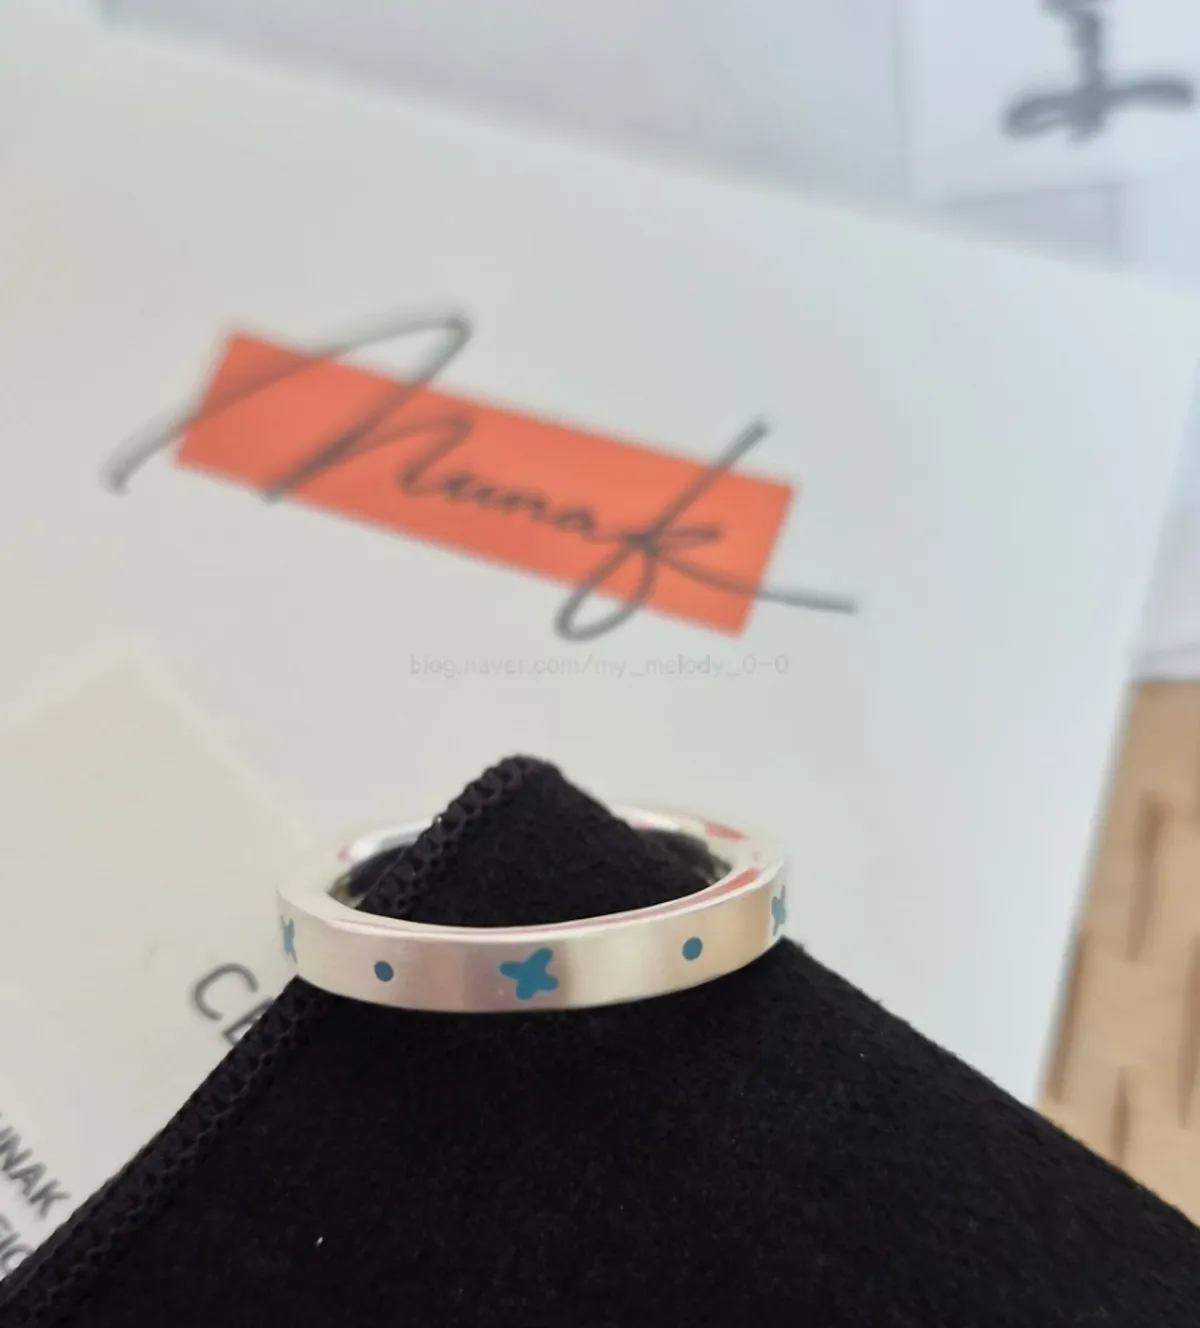
Munak is a metalworking studio in Eunpyeong, Seoul, that makes custom jewelry around your preferred design. I chose a slim size 16 wax ring, carved five clovers and dots, and requested a clean, straight-lined matte finish. Verdict: Designing it myself made the finished ring feel even more special.
Good to know
- Location
- 2F, 23 Tongil-ro 83-gil, Eunpyeong-gu, Seoul, South Korea
- Hours
- Daily 10:00–21:00
- Work tables
- Two two-person tables
- Shipping fee
- ₩3,000
- Shipping time
- About 3–4 days
as written by the visitor on Sep 11, 2026
Getting to Munak from Yeonsinnae Station
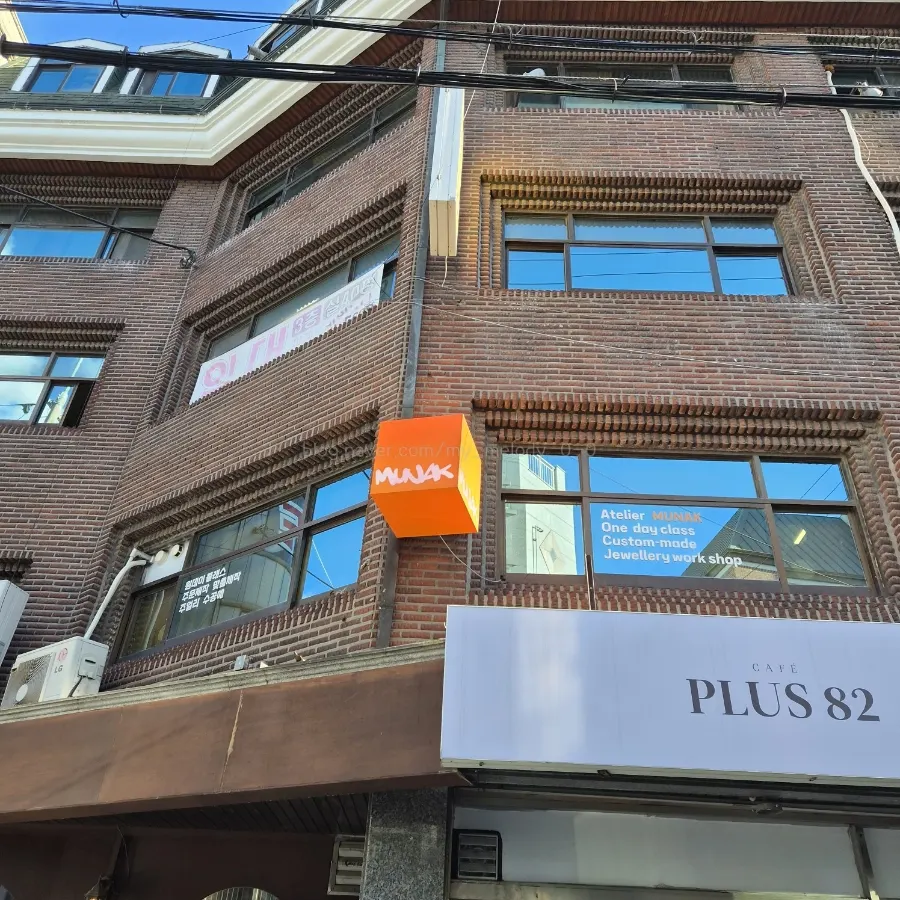
Munak is on the second floor at 23 Tongil-ro 83-gil, Eunpyeong-gu, Seoul, and is open ყოველდღე from 10:00 to 21:00.
Exit Yeonsinnae Station through Exit 6, head into the alley toward Seongsim Hospital, and you’ll find it on the second floor of the building with a café.

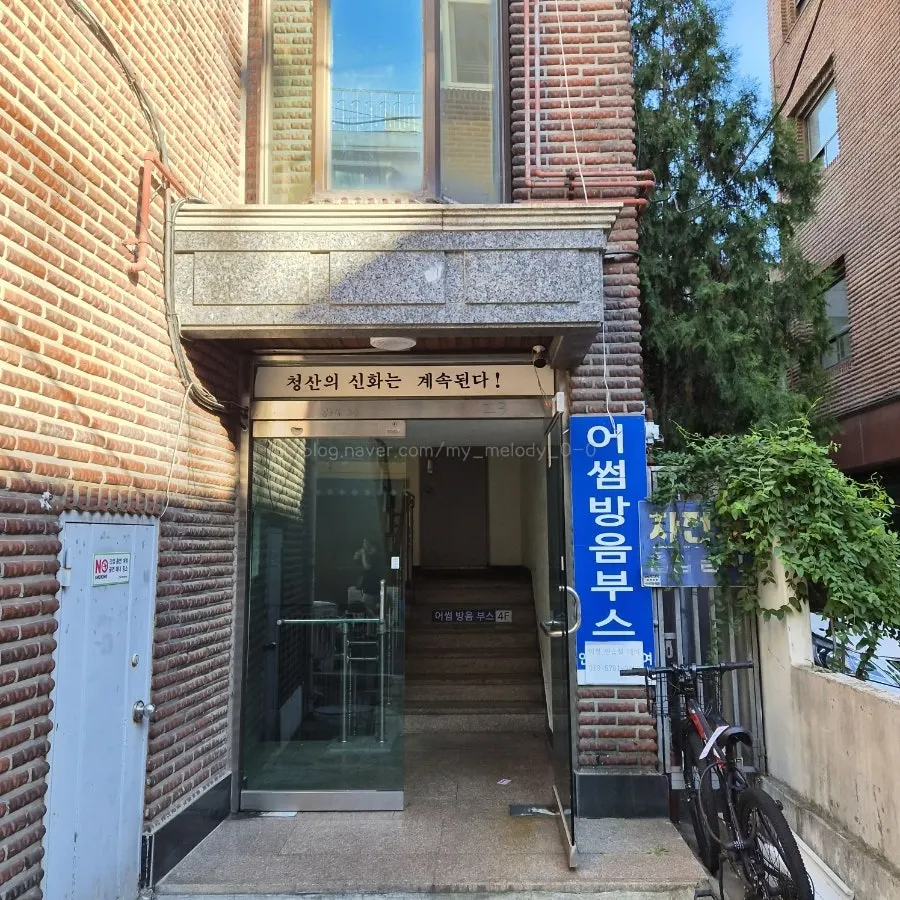
Go around to the back of the building and you’ll see the stairs up to the second floor :)
A Seoul metalworking studio shaped around your preferences
Munak is a Seoul metalworking studio that creates new forms from an unfamiliar perspective.
A little twist on familiar things
That’s its motto for metal craft. In particular, it makes custom jewelry that reflects each person’s taste and preferred direction.
On the website, you can browse finished jewelry such as rings, bracelets, and necklaces. The archive also shows rings other people made in one-day workshops.
Inside the workshop, made for two
One side of the studio has a display area for finished pieces. There’s also a table for a quick consultation, plus two two-person work tables.
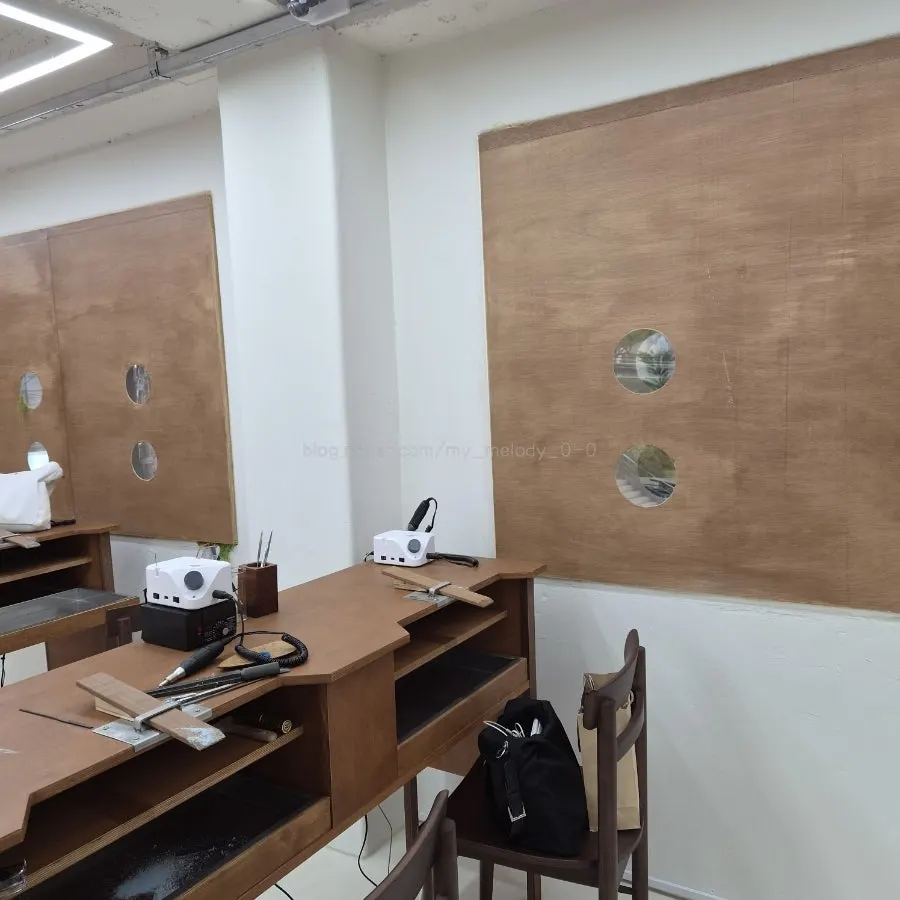
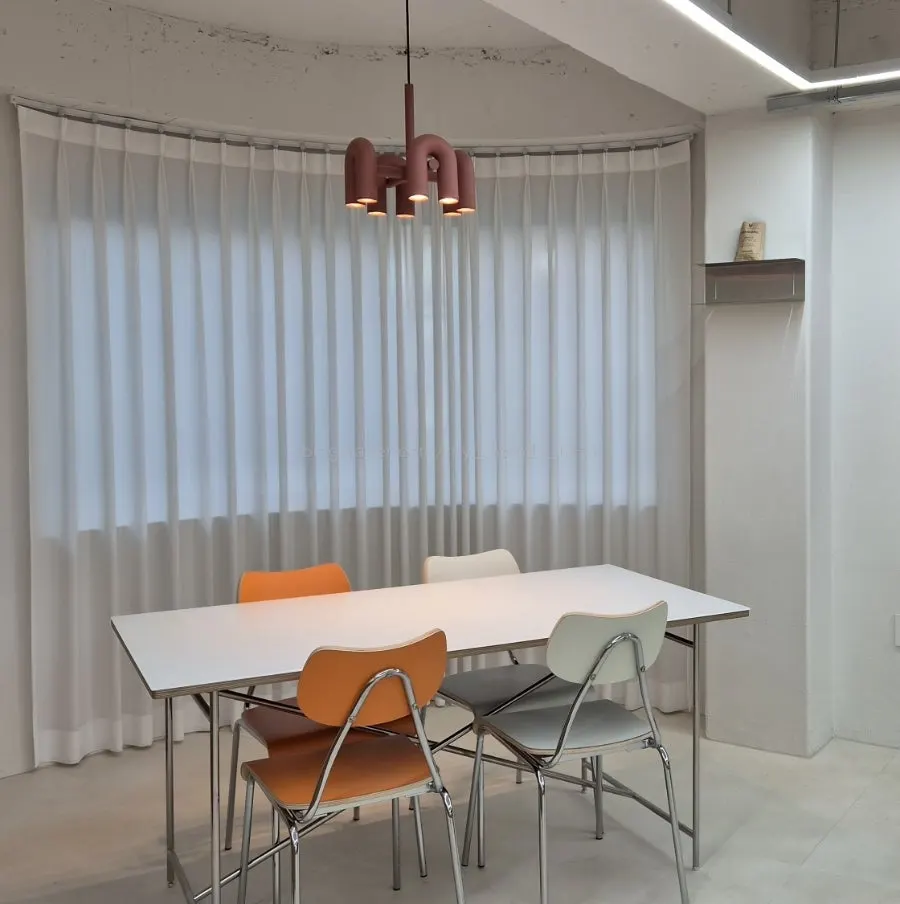
Since two people can make rings together, it’s a great unusual date activity around Yeonsinnae. It’s helpful to look over the finished pieces and choose a design as a reference!!
A size 16 clover ring decided in the consultation
First, I talked with the instructor about the design I wanted and chose my ring size.
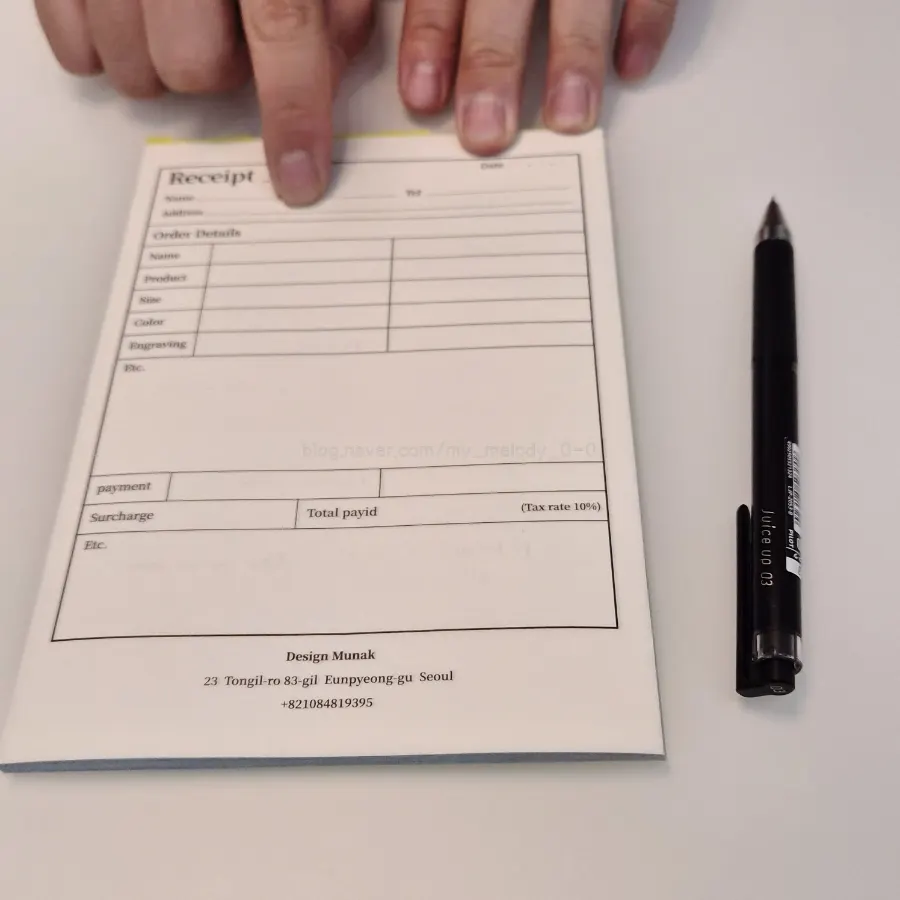
I saw the FIZZ RING design on Instagram and liked it, so I wanted to make something with that feeling! Isn’t it so pretty? haha
I chose size 16 and decided to make a ring for my index finger.
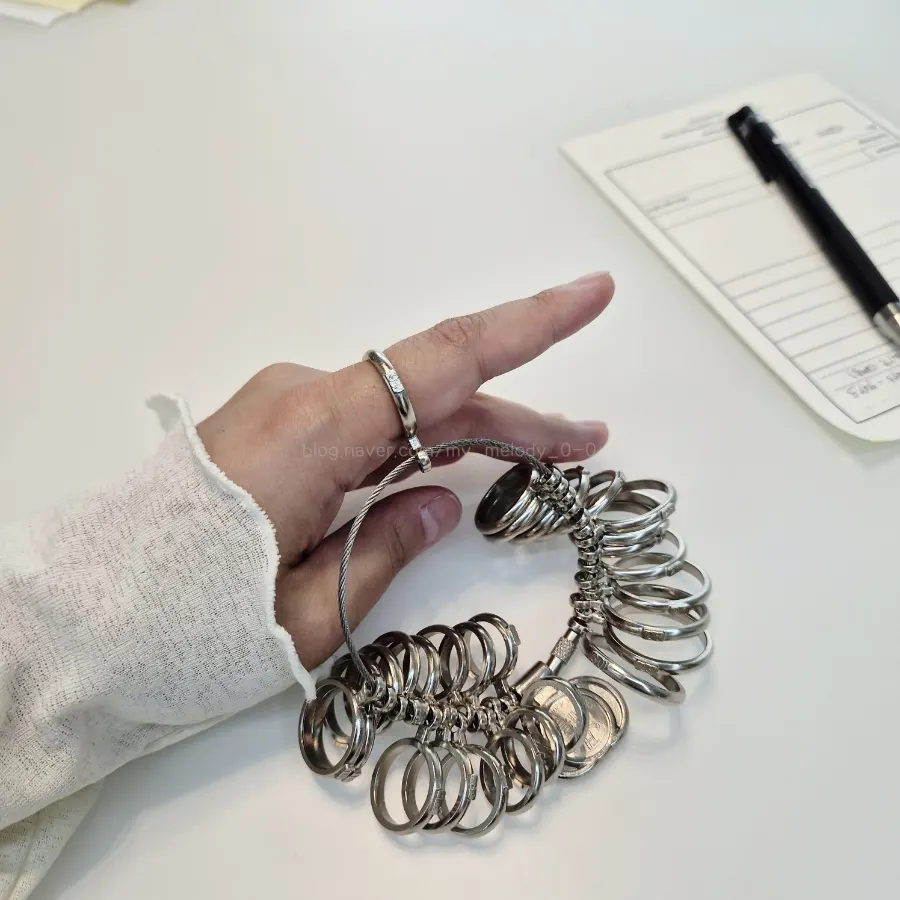
After the consultation, I sat down at my workstation and chose the wax I wanted to use.
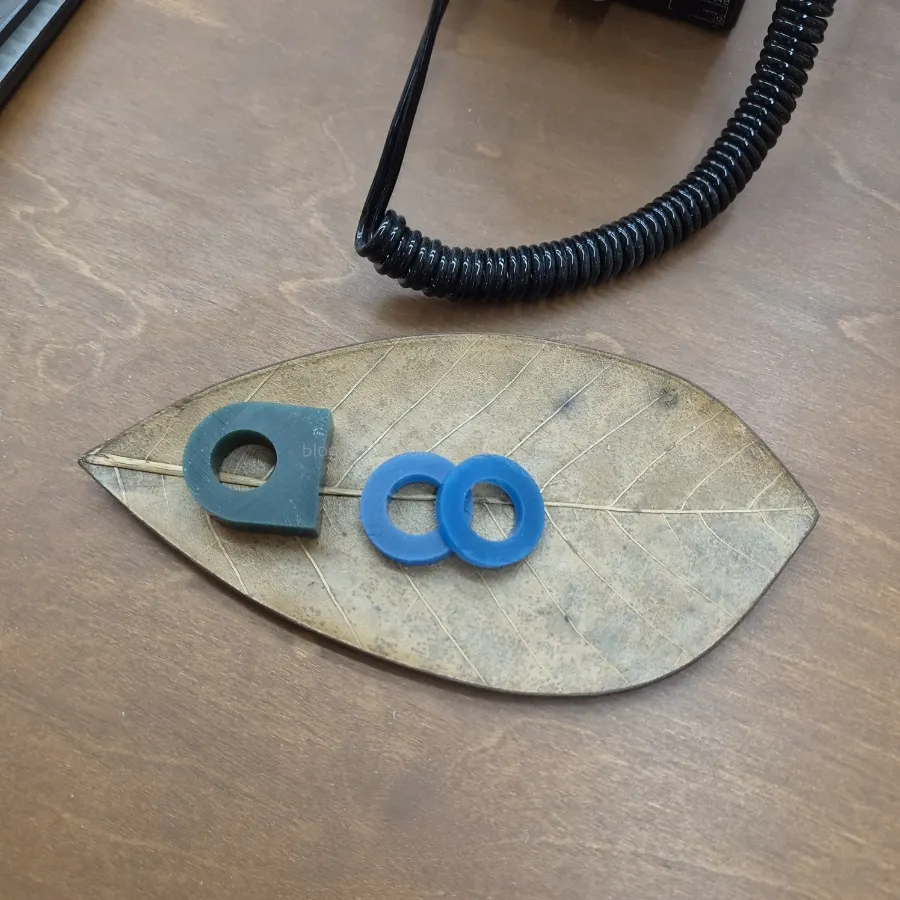
I prefer slim, clean styles over thick rings, so I chose a thin wax blank.
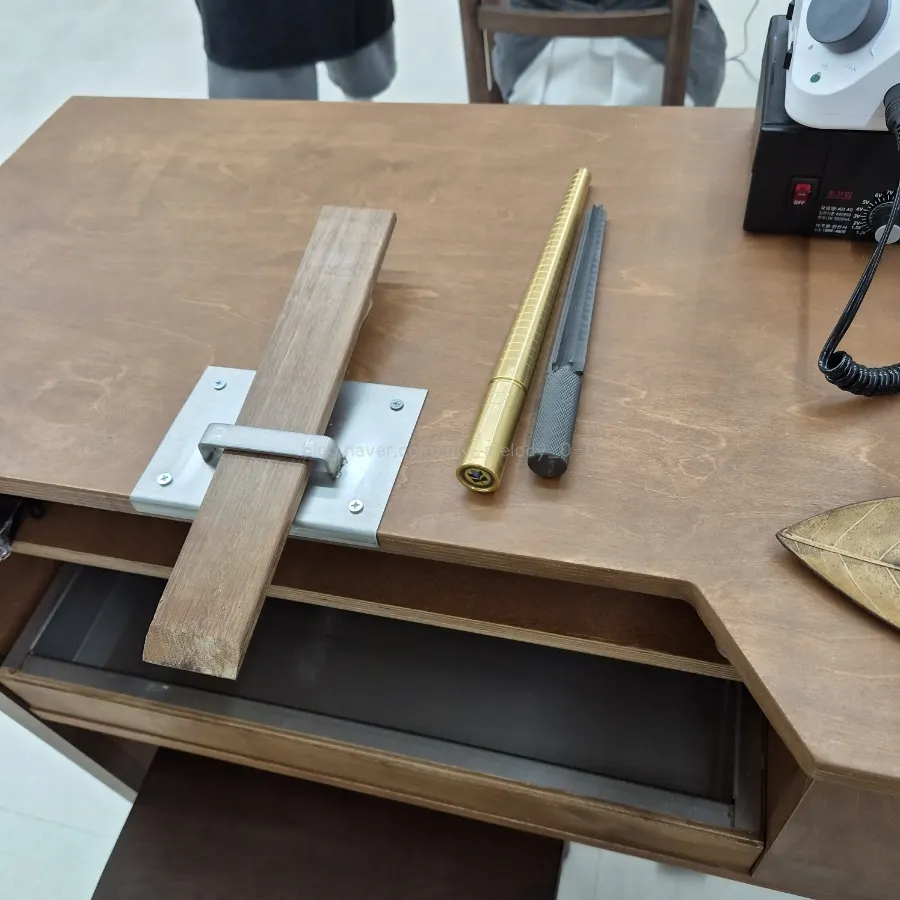
How does wax carving work?
A quick pause! Wax carving follows these steps.
- Carve the wax into the desired shape
- Pour plaster to make a mold
- Pour silver into the mold to finish the ring
We worked through step 1, and the instructor handled the rest! It takes a little time before the finished ring is ready.
Now I’ll show you the wax-carving process in order! The instructor demonstrated every step, then I tried it and had it checked!
1. Adjusting the inside ring size
Since I was making a size 16, this was the step for fitting the inside first! I gradually adjusted the inside to size 16.
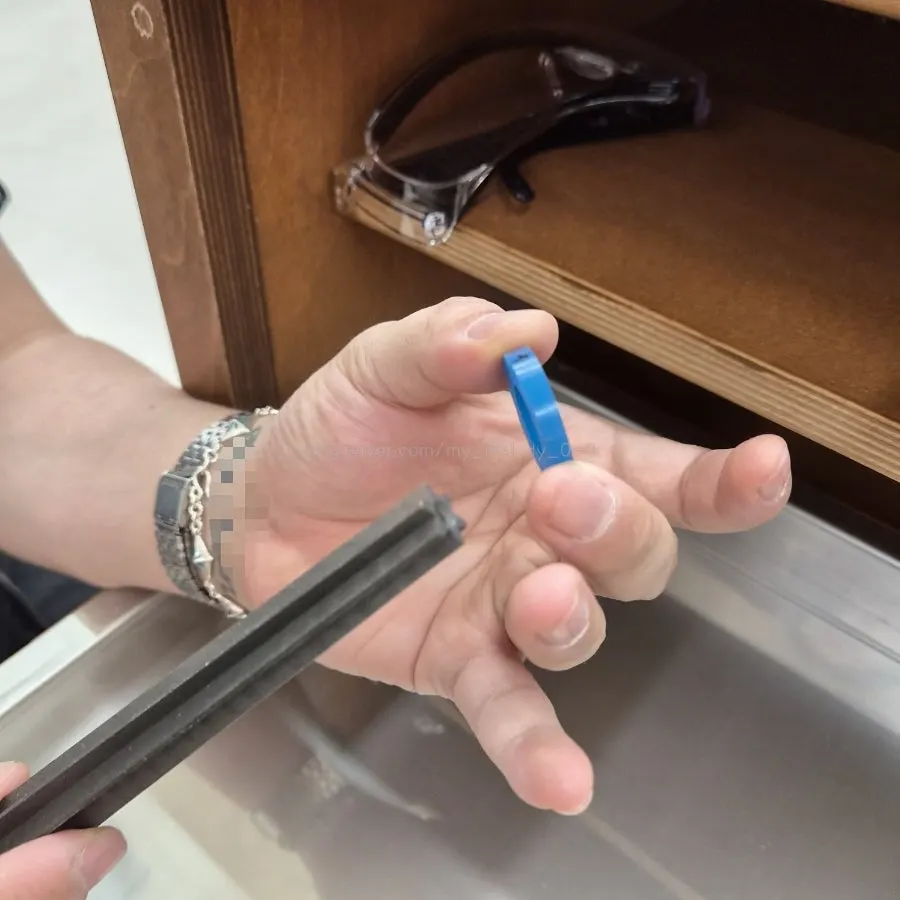
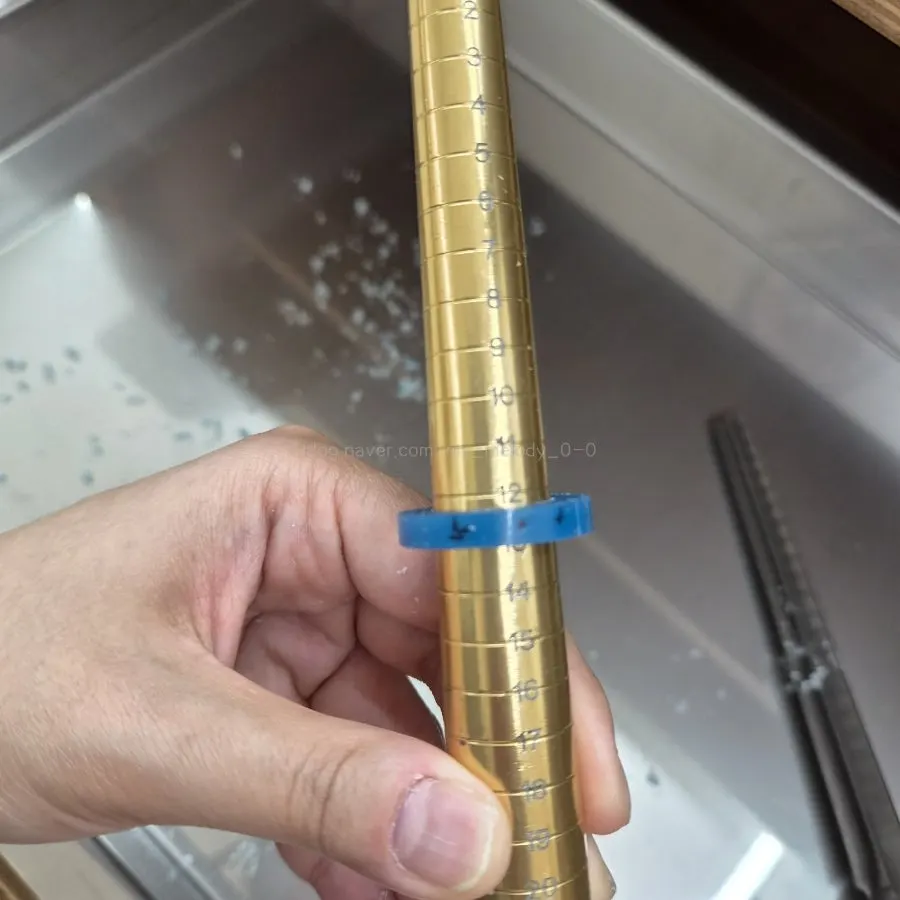
I turned each side of the ring the same number of times, alternating sides to keep it symmetrical.
2. Refining it to a slim 3 mm thickness
I like thin rings, so I carved it slim to suit my preference. Once the size was set, I used a file to adjust the ring’s thickness.
I slowly refined it to around 3 mm thick overall. I was told to use the file by pushing it forward.
3. Making the ring surface flat
After adjusting the thickness, I worked on flattening the ring’s surface.
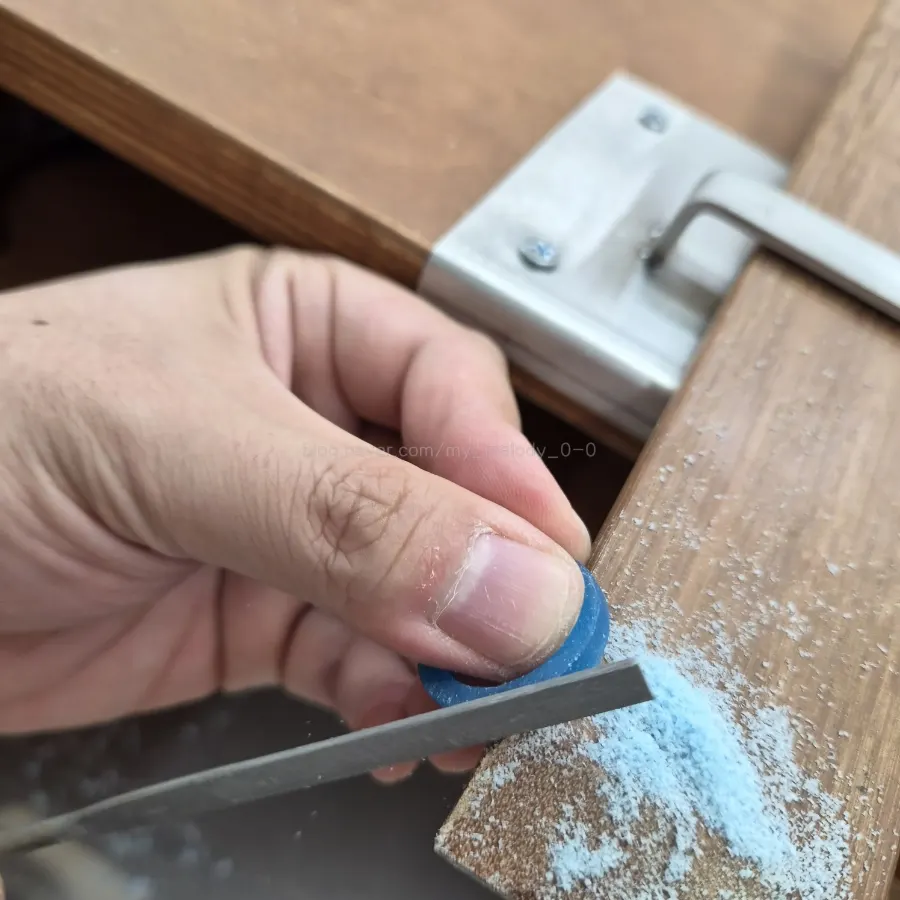
For this step too, I used a file, pushing it forward as I smoothed the surface.
4. Drawing clovers and carving grooves
First, it was time to create the design!!
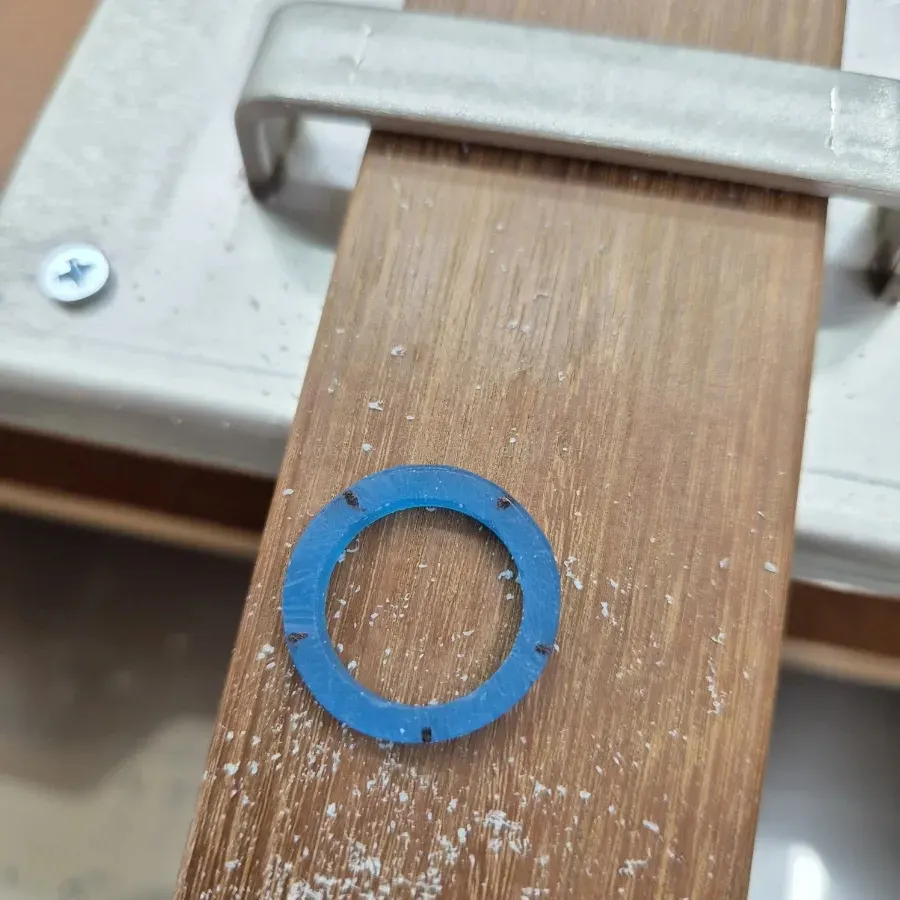
I put five clovers on the front where they would show clearly, with dot patterns between them. Since I drew on the wax with a marker, I could erase mistakes with an alcohol wipe, so there was no pressure~
Lastly, I carved out spaces for enamel. Depending on the design, you might skip this step.
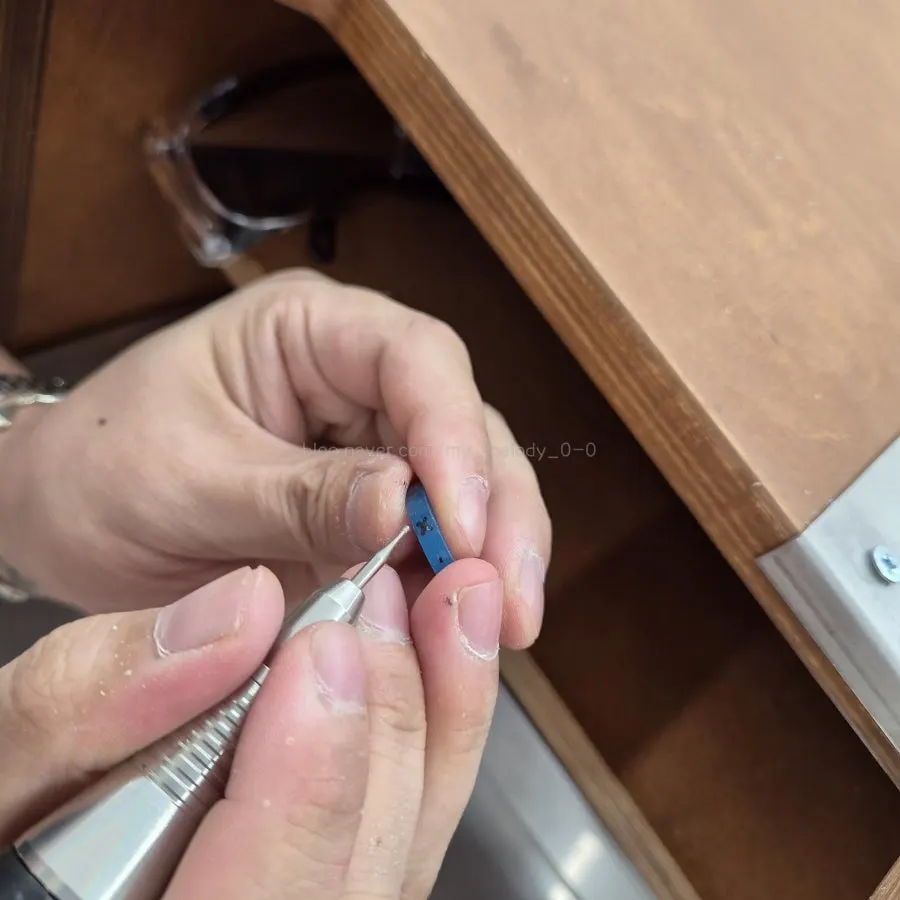
This was the step I found hardest, and it was much more delicate than I expected.
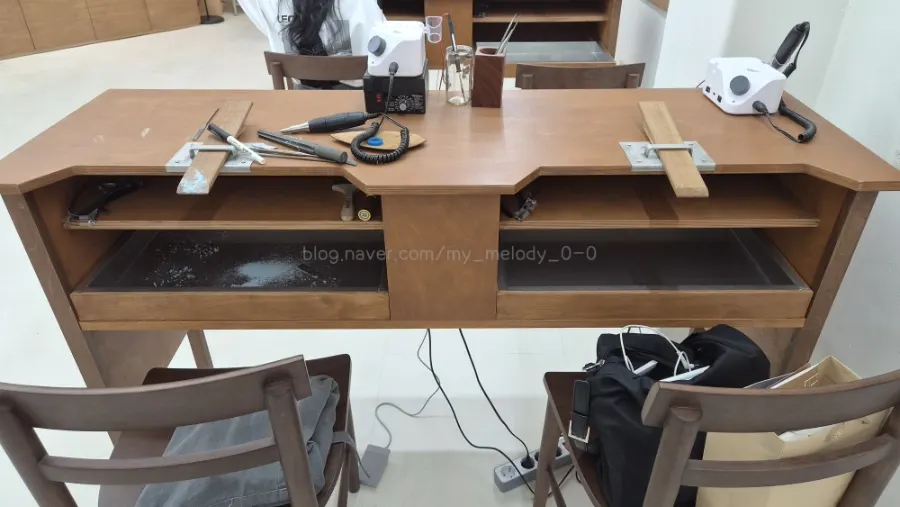
I pressed the foot pedal to operate the tool and carefully carved the pattern where I wanted it. But the instructor had me covered.
I liked that the instructor kept asking what direction I wanted throughout the process. They helped me shape the work so my desired design came through as much as possible. So kind! Unlike more standardized places, it really felt like I was making it to suit the shape I wanted.
5. Finishing with comfort in mind
After finishing the pattern, I smoothed the uneven areas caused by carving. I also gently rounded the inside with a file, taking comfort into account too.
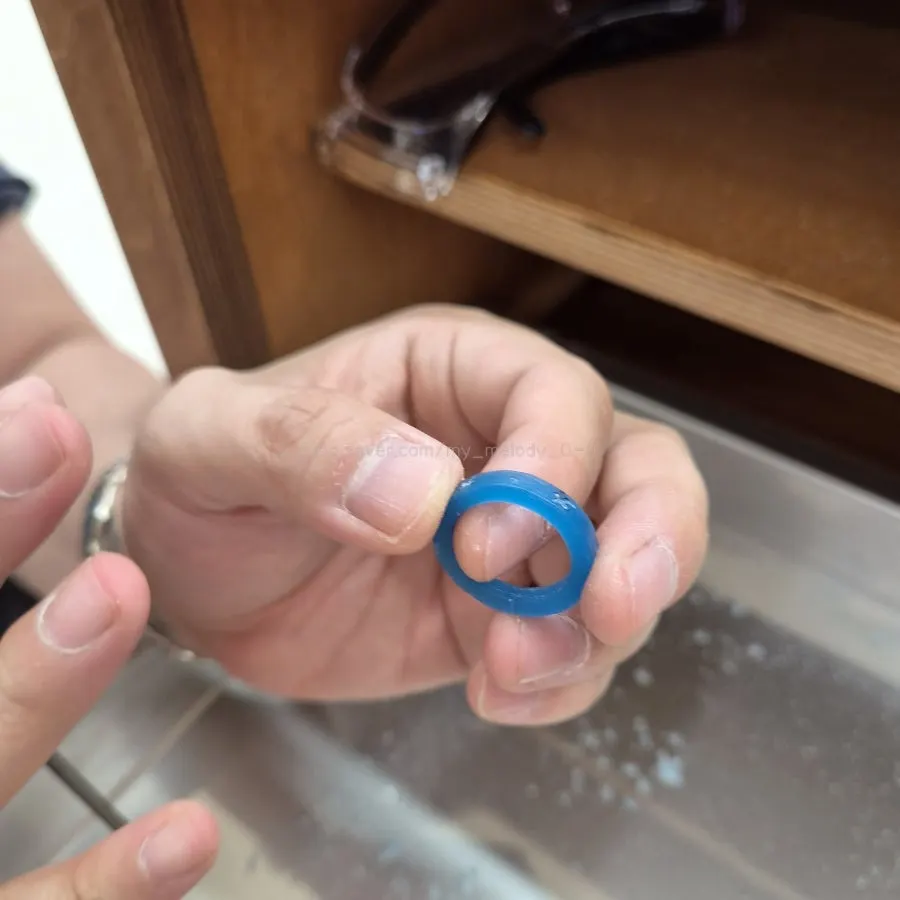
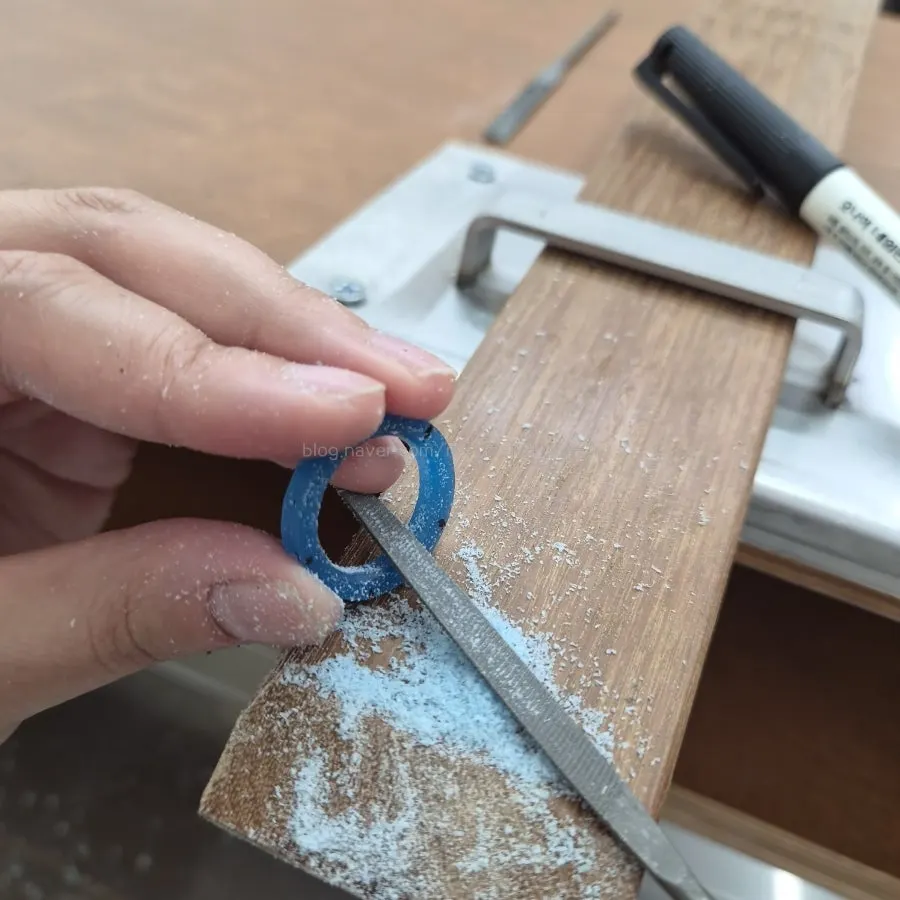
Once the overall shape was complete, the instructor did the final finishing work. Even as a first-time wax carver, I was able to follow along and finish it without difficulty.
My finished ring with a matte finish
Since I was visiting from out of town, I chose delivery for the finished ring. Shipping was ₩3,000!
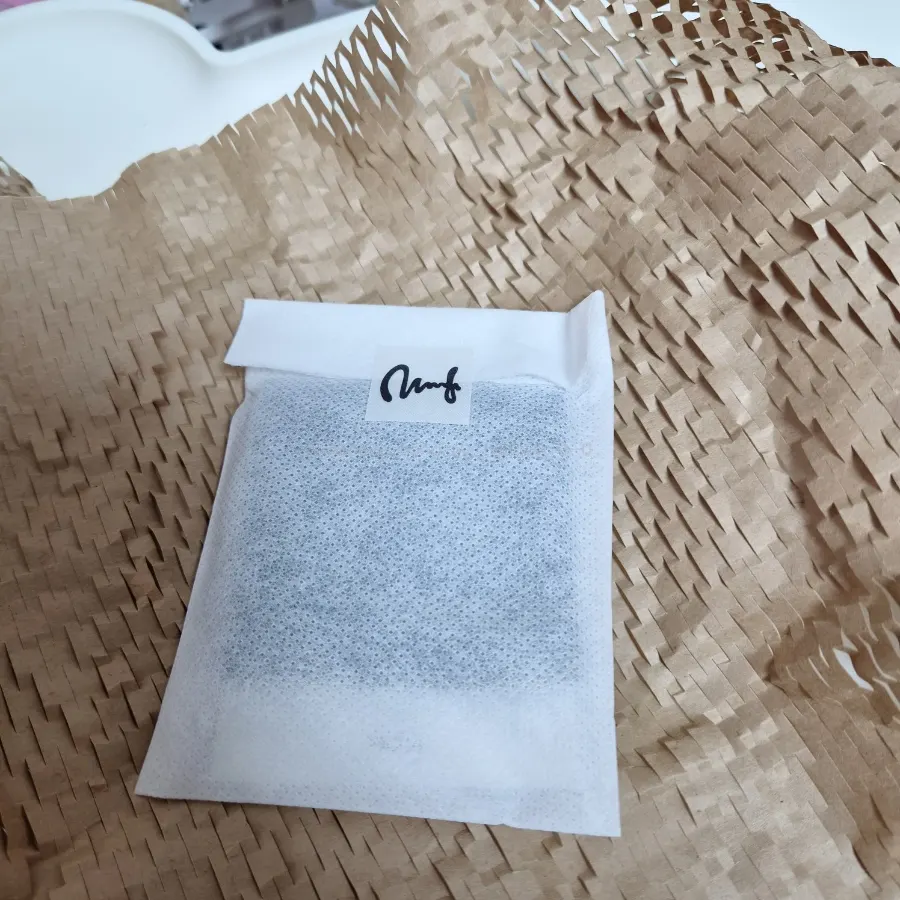
The delivery was faster than I expected—it arrived in about 3–4 days—and the result was really pretty.
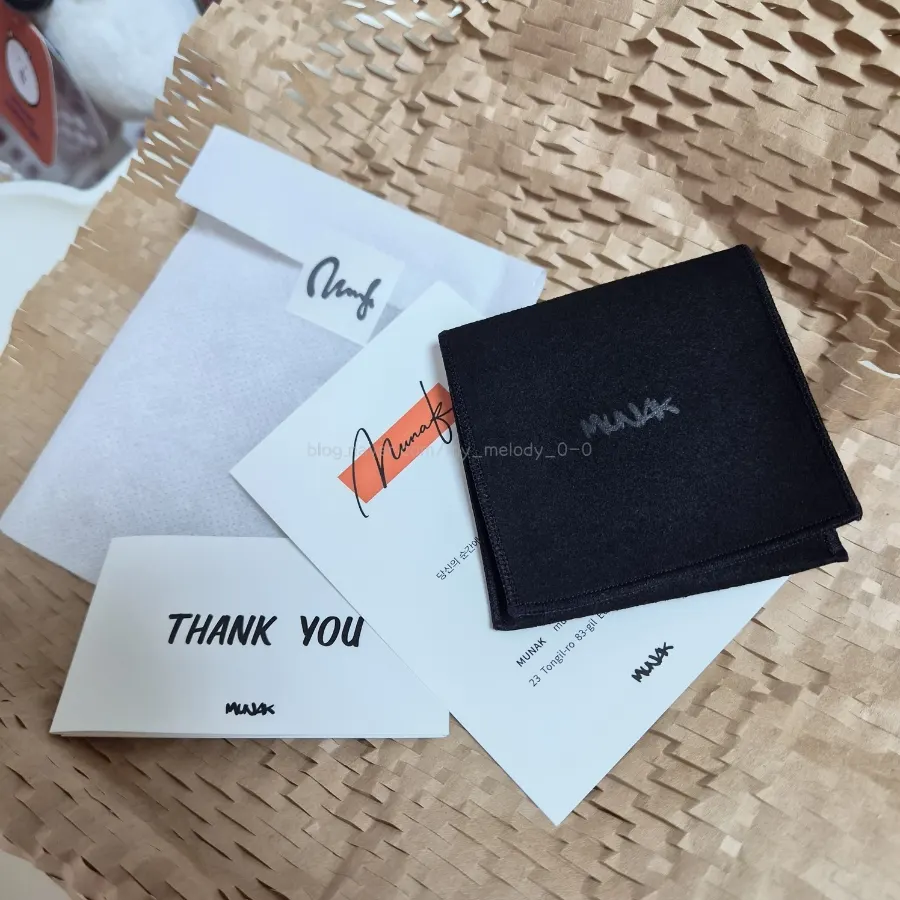
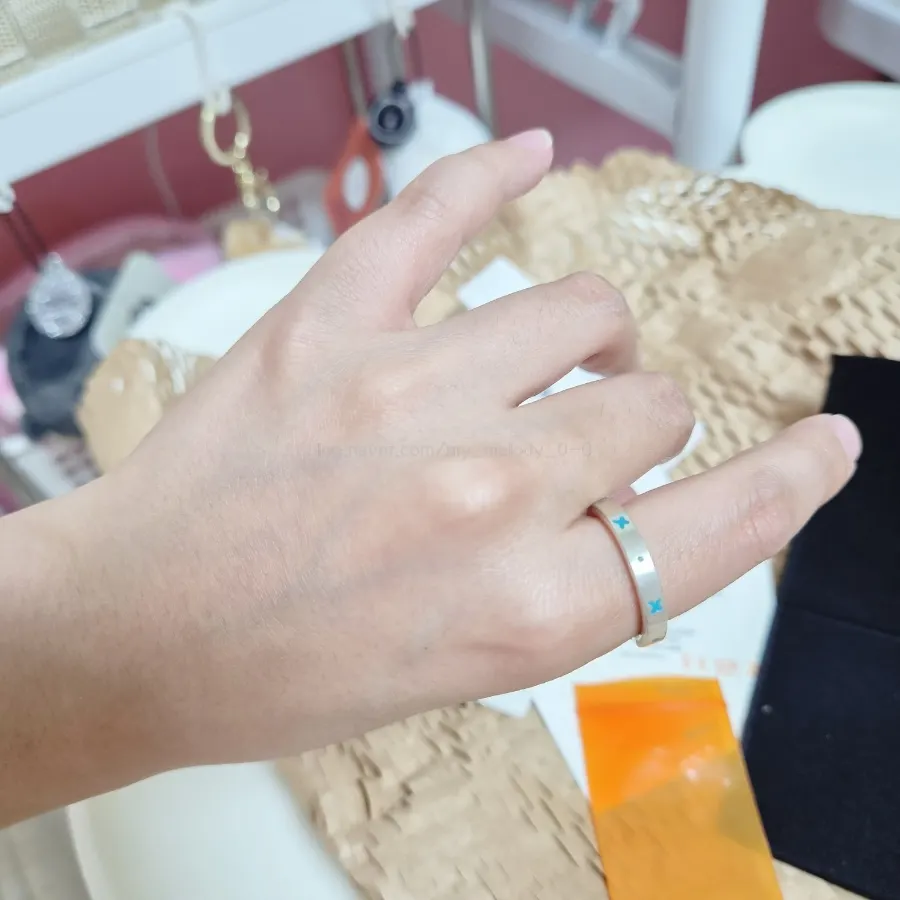
At the end, the instructor asked again whether I wanted a matte or glossy finish, and what style I preferred.
I like a clean, crisp matte look, so I requested a more straight-lined feel.
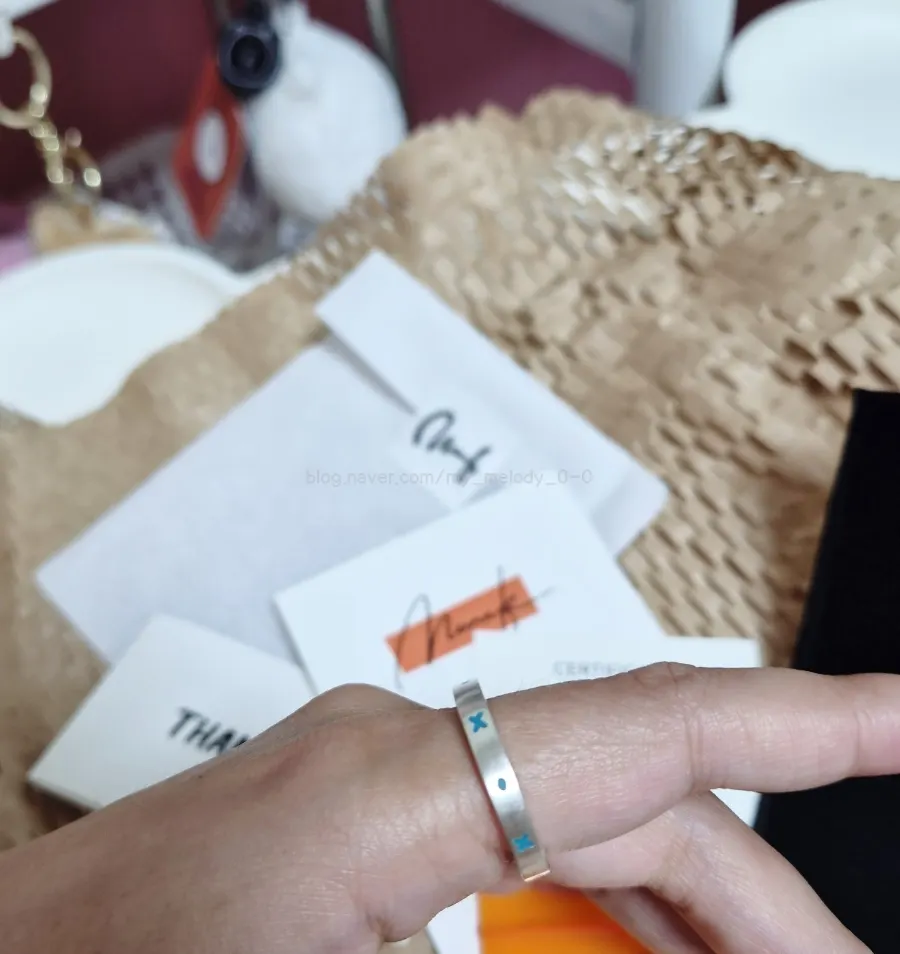
Thanks to that, I could reflect the feeling I wanted as much as possible, and I was even happier with the result.
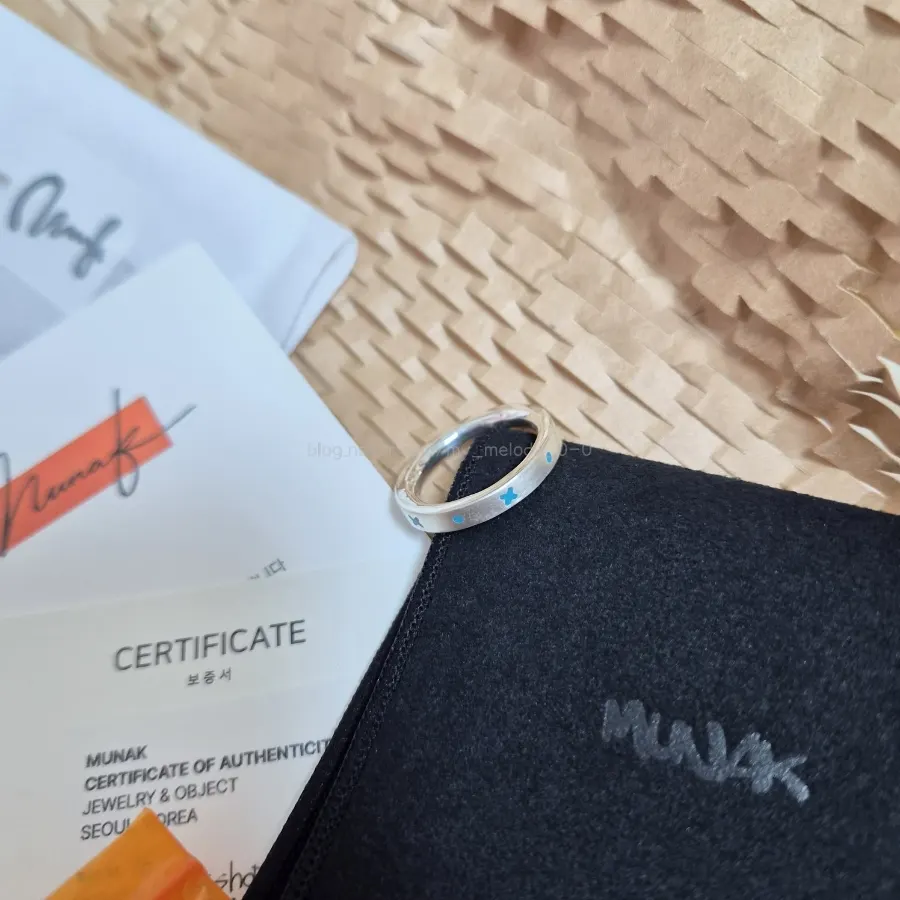
Maybe because it was jewelry from a Seoul ring workshop where I designed everything myself, I felt even more attached to it once it was finished.
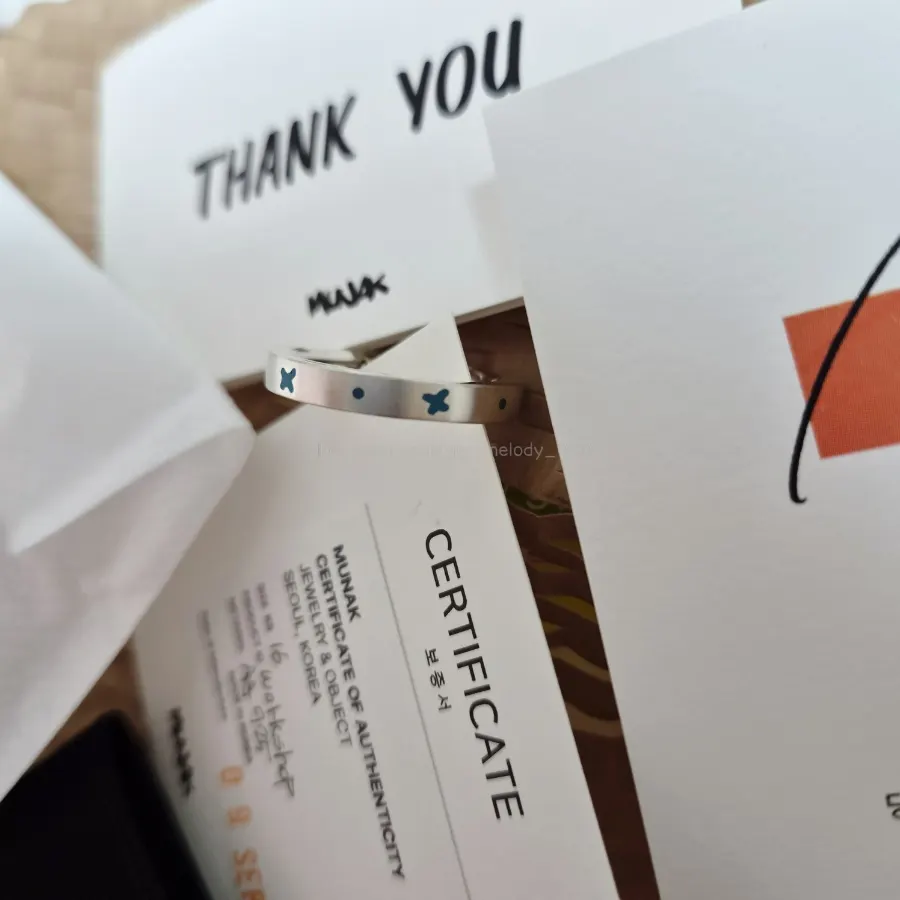
I recommend it if you want to make a special ring for an unusual Yeonsinnae date or are looking for a Seoul ring workshop :)
Munak’s wax-carving class was a Seoul jewelry workshop I loved because it was fun to make something myself while fine-tuning every detail in the direction I wanted :)
Where it is
2F, 23 Tongil-ro 83-gil, Eunpyeong-gu, Seoul, South Korea (서울특별시 은평구 통일로83길 23 2층)서울특별시 은평구 통일로83길 23 2층 무낙


